
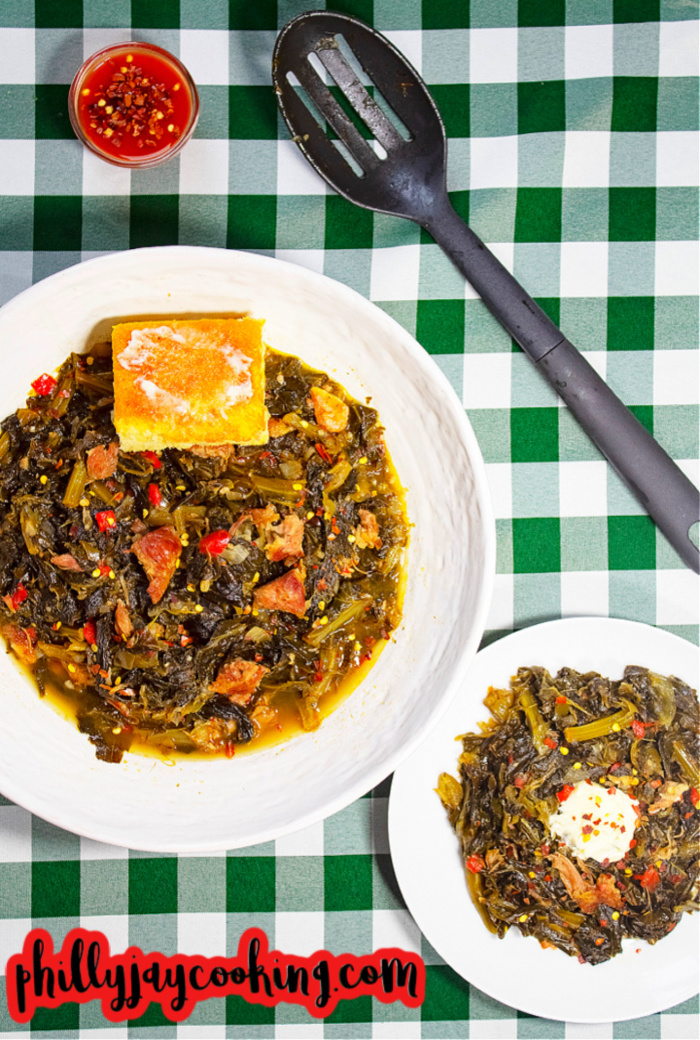
Ladies and gents, these Collard Greens are the UNDISPUTED CHAMPS. If you’ve been looking for a good collard greens recipe, you might as well KEEP LOOKING. Because these greens aren’t good; they’re dangerously delicious!
Greens can’t get any better than this, folks! I promise you, they’re the BOMB.COM! I have one of the most-viewed collard green videos on YouTube for a reason.
Classic 2014 PhillyboyJay Collard Greens Vid
Now, I did make a few much-needed changes to this recipe over the years. So this isn’t the original one my followers fell in love with back in 2014—the one I made with ham hocks.
You can check that classic video out here: Classic 2014 Philly Jay Cooking Collard Green Video
I’m sure my Day 1s remember that video. It was one of the main videos responsible for putting me on the map and making me YouTube famous.
Y’all remember the old burnt pans and the Tupperware lids I used as cutting boards? LMBBO! What about the broken knives and the infamous paper plates? Watching that vid will take you right down memory lane. Lol!
I was young, living in a small room with little to no money, and had to make do with what I had at the time. Being real and authentic was all I knew.
I always laugh when I look back at those old videos because I was so darn ghetto! Lol! That’s what my fans loved most about me, though.
I was relatable because I wasn’t fancy or trying to be perfect. I was just a regular guy from the slums of Philly, sharing my love for good homemade food.
I cooked using the same basic seasonings everybody had in their cabinets, in a tiny kitchen like many other struggling Americans.
I did all this with utensils that were on their absolute last leg. Lol! I’ve definitely upgraded since then—I’m older, more articulate, and not nearly as goofy as I was.
And no, I’m not using broken knives anymore; I actually have nice cutting boards now and stepped up my presentation game with porcelain plates. Lol!
So I might not have that exact same appeal, but I’m still Phillyboyjay! 🙂 And guess what? THE FOOD IS MUCH BETTER NOW! I’m a much more experienced home cook and recipe creator today.
Anyway, these greens are still amazing—I’d say even better. They are much healthier for sure! Lol! So you HAVE to give this recipe a shot.
I definitely want my Day 1s to try them! I want to know if they think they hit as hard as the ones from back in the day.
I’m Proud of These Greens
Now, usually, I have some long-drawn-out story about how one of my aunts or grandmoms inspired my recipe. Or how I took their recipe and put my own spin on it.
But let me tell y’all, this recipe here is ALL ME, BABY!! It’s not a modified version of somebody else’s dish. I just picked up some greens, used some common sense, a hint of creativity, and ended up creating a masterpiece.
I remember my family begging me to bring some to the next family cookout after they tried them at my Aunt Angie’s repast.
Members at my church were saying I should replace our church chef, Brother Greg Griffin, because they loved my greens so much! Lol!
Now let me be clear: THESE ARE FRESH COLLARD GREENS! The ones you make the night before Thanksgiving!
These aren’t the frozen ones that come in a bag. (Though I do have a quick Frozen Collard Greens Recipe if you’re looking for something fast and easy!)
Prepping and washing these boys takes time, especially if you’re making a big batch. So I definitely recommend having someone around to help you out.
That way, you won’t feel like you just worked a 16-hour shift when you’re done! Lol! Ok, it’s time to get into it! If you’re a visual learner, let me guide you step-by-step in the video below.
Watch Me Make It
My Family Loved Collard Greens
My family cooked collard greens all the time. We didn’t just make them for Thanksgiving; we cooked them year-round, especially for Sunday dinner.
My parents would prepare Sunday dinner on Saturday evenings and cook the vegetables right after church. If they were making a salad, they’d prep it the night before to give all the dressing and seasonings time to marry.
Everything tasted better the next day—especially the collard greens, which became our leftovers on Monday nights! Lol! My nana was not playing around; she was way too tired to cook on Monday night after laboring over the stove all weekend.
We knew Sunday dinner was meant for Sunday AND Monday! And if there weren’t any leftovers, we had to figure something out.
We’d make a PB&J, boil some ramen noodles, or fry up a bologna and cheese sandwich. Because one thing was for sure and two things for certain, Nana was NOT cooking anything! Lol!
The Story of How My Nana Washed Her Collard Greens
There are things my elders and parents would do that I could never understand. But as I aged and became wiser, those things began to make sense.
But there is one crazy thing my Nana used to do that I still can’t seem to wrap my mind around. Ima explain how she used to wash her greens, and y’all tell me if this makes any sense.
When she prepped her greens, she’d remove the stems, then chop them up into small pieces. Then she submerged them in vinegar salt water, inside of HER FREAKING BATHTUB!!!
HER BATHTUB FOLKS; I didn’t stutter, I said her GODDARN BATHTUB!!! First of all, I would NEVER prepare food in a bathroom.
Secondly, the tub is probably one of the dirtiest things in your entire home. I don’t care how hard you scrub it. It’s full of germs and bacteria that a quick bleach wipe down won’t fix.
So somebody… ANYBODY… please tell me what the heck she was thinking! Lol! I remember asking her why she didn’t just wash them in a big bowl, or use something like a tote.
She said because the tub is spacious and she can wash several pounds at once. What you have to understand is she wasn’t just making 4 lbs for a Thanksgiving dinner.
She’d make a total of 20–25 lbs over the course of 3 days, and cook 3–4 pots of greens at a time. Y’all remember those tall 8 qt metal pots our grandmas used to cook big dishes? Well, those are the pots she’d use.
When I said my folks could cook, maybe y’all thought I was playing. When I say she made some mean greens, that’s exactly what I mean.
So there were always neighbors, church members, and friends of the family asking her to make them some. She’d make a bunch, then distribute them in large pans before having them pick theirs up.
That’s just how things were back in those days; Thanksgiving was a really big deal. And not just that, but everyone I knew used to actually love and enjoy cooking.
So yeah, the size of the tub was perfect for that much volume of greens. That’s just not the route I’d take to wash a large amount because it’s so unsanitary!
But you know you can’t tell old folks nothing. They’re set in their ways! I must have told her a thousand times how unsanitary that was. I was just wasting my breath because she continued doing it anyway. Lol!
I remember telling her how many germs those greens were picking up when she’d wash them in the tub. I told her you’re defeating the purpose of washing them because they’re just collecting more bacteria. Lol!
She looked at me and said, “It ain’t killed me in all my 86 years, so I ain’t stopping now!” Lol! All I can say is… those collard greens were always THE BOMB, so I wasn’t about to complain! Lol!
That Potlikker “COLAH”
My nana would always say you can tell food is good by its color. She would always say, “These gone be good, just look at that color there.”
I agree that one sign that greens might be good is by the color of the juice. My nana would always pronounce it as “COLAH”; that’s how she would pronounce “color”. Lol!
The vinegar, broth, turkey tail juices, and seasonings are what give the potlikker that color. If you ever see greens floating in clear juices, it’s probably not that good. So yeah, if the liquid has no color, you better give it some before you serve it. Lol!
Barb and the Anti-Meat Club
I wanna chat about the meat because some folks hate meat in their vegetables. My friend Barb is one of those people; you couldn’t pay her to eat my greens!
Whenever we’d hit a food spot in Philly, she’d ask if there’s meat in the vegetables. LMBBO! If they said yes, she’d hit ’em with, “Nope, I’m good!” and then tell me she wanted to leave! LMBO!
As if putting meat in vegetables was equivalent to a cook sneezing over the food. She was such a weirdo, but she wouldn’t be “Barb” if she wasn’t being difficult.
No matter where we went to eat, she always found something wrong with the food. LMBBO! She was the type you couldn’t take out to eat and who should probably make her own food at home.
Because she had too many things she wanted customized, no matter what it was we were eating. She just liked her veggies pure, without a speck of meat in ’em.
Anywhooo, I thought that was funny so I had to share that with y’all. Some people are vegetarians, and others just prefer clean-tasting greens.
The point is… you can completely omit the meat from this recipe. They’ll still turn out good, although I think they’re better when cooked with smoked meat.

Recipe Ingredients
Make sure you have all these ingredients to perfect the recipe and get the best results.
- Main Ingredient: We’ll be using fresh collard greens. If you want to use pre-chopped bagged greens, that’s fine. Just make sure you’re using the same amount.
- Meat: Smoked turkey tails infuse collard greens with a meaty, smoky flavor. Great alternatives are turkey legs and smoked ham hocks if you’re ok with pork.
- Liquid: Adding chicken broth to collard greens provides depth of flavor. I always make sure I have some on deck when I plan on making them. Turkey or vegetable broth makes a good substitution. I usually combine the broth with an equal amount of water to cook the turkey tails and greens in.
- Condiments: Apple cider vinegar is essential because it gives the collard greens their signature tangy flavor.
- Vegetables: I like to use yellow onions mainly because they’re sharp and best for caramelizing. Green and red peppers add additional flavor to the greens, enhancing the overall dish. The red peppers also make the greens more appetizing and visually appealing. Minced garlic is absolutely necessary in collard greens; enough said!
- Seasonings: Lawry’s Seasoned Salt is black folks’ favorite seasoning and an absolute must when it comes to Soul food collard greens. Garlic powder, onion powder, chicken bouillon cubes, and black pepper add depth of flavor; sugar balances out all the acidity; and crushed red pepper flakes add a nice hint of heat.
- Fat: Vegetable oil and butter are used to sauté the vegetables and pre-cook the collard greens. The butter adds extra richness and flavor.
How To Prep Collard Greens
Prepping collard greens is pretty easy because it’s only a two-step process: cleaning and cutting. Now, when I clean my greens, I soak them in a baking dish; not a bathtub as my Nana does! LMBBO!
I personally like to clean mine first before chopping them. You can scrub the leaves more thoroughly when they’re whole. Doing so helps remove stubborn dirt, dead bugs, or pesticide residue.
Also, make sure you get rid of any yellow, bruised, or damaged leaves before you start this process. Here are the steps:
Cleaning the Collard Greens
- Cleaning Agents & Ratios: To create a cleaning solution, combine water with either salt, vinegar, baking soda, or citrus juice (typically lemon or lime juice). I personally like to use salt or lemon juice, and I always use 1 tablespoon per quart of water. No matter what you decide to use, that’s a good, effective ratio to stick with.
- Soak the Greens: After you submerge the greens in the cleaning solution, let them soak for 15 to 20 minutes (30 minutes at most).
- Scrub & Rinse: Last but not least, agitate the water by gently scrubbing the greens with your hands. This will loosen dirt, grit, and anything else holding onto the leaves that we don’t want on them. Afterward, give them a thorough rinse under cool water until the water runs completely clear.
How to chop the collard greens
Ok, so the next and final step is to chop the collard greens. Here is an easy way to chop collard greens for those of you wondering how they should be cut. Here are step-by-step instructions and pictures to illustrate how it’s done.
- Fold the collard greens with the stems sticking out to the side.

- Slice off the stems.
- Finely chop a quarter to a half cup of stems and discard the rest.
- Roll up the collard greens.
- Slice them into pieces of 3 or 4.

- Chop the collard greens up into small pieces.

Bam, you’re all done! Chopping the stems into small pieces as you see in the photo above is optional. I like to keep a few because it gives the pot of greens that classic look with small bright green stems floating around.
Plus, the stems contain a lot of nutrients as well. I only use a little, though; it just depends on how many lbs of greens I’m cooking.
Do you clean the meat?
I get asked this question from time to time, and the answer is YES! I don’t do anything overly complicated; I just scrub the meat with my hands under running water.
If you want, you can soak the meat in a solution alongside your greens, but usually I just give it a good rinse with cool water to remove anything that shouldn’t be on it.
As I’ve said many times before, some people don’t believe in cleaning their meat, but I think giving it a proper scrub under cool water is essential at the very least.
How to make collard greens
- Place a medium pot over medium heat.
- Add the turkey tails and water.
- Cover with a lid, leaving a crack on the side.
- Boil for 1 hour or until fork-tender.
- Once done, chop the turkey meat up.
- Place a large pot over medium-high heat.
- Add the oil, butter, onions, and peppers.
- Stir and sauté for 3 minutes.
- Add the first pound of collard greens and toss.
- After 3 minutes or once they’ve wilted, add the second pound of collard greens and toss.
- Cook for 3 more minutes or until they wilt and become glossy.
- Reduce the heat to medium.
- Add the remaining liquid from the turkey tails, the broth, vinegar, and minced garlic.
- Add the turkey tails and seasoning, then stir well.
- Cover the greens with a lid, leaving a crack on the side.
- Simmer for approximately 1 hr and 30 minutes or until tender.

Tips for best results
- Make them ahead for extra flavor: Collard greens are one of those dishes that taste even better the next day. Letting them marinate in that smoky potlikker in the fridge overnight makes a world of difference.
- Chop into small pieces: Cut the collard greens into small, uniform strips. It helps them cook faster, absorb the broth better, and make more servings.
- Wilt and cover for tenderness: Sauté/wilt the greens briefly in oil, then keep them covered so the steam works alongside the liquid to make them melt-in-your-mouth tender.
- Store leftovers in the potlikker: Never drain the liquid when saving leftovers. Store the greens completely submerged in that potlikker so they’re juicy, tender, and full of flavor when reheated.
Serving suggestions:
Collard greens are a very popular soul food vegetable side dish. So below are some other soul food main and side dishes that go perfectly with collard greens.
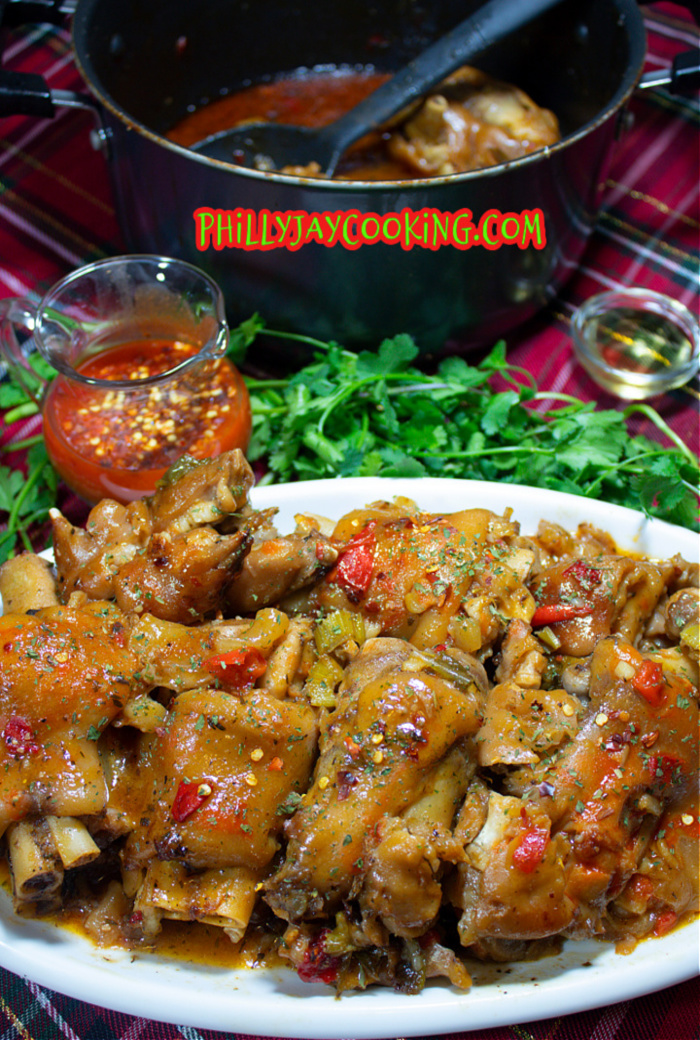
- The BEST New Year’s Eve Pigs Feet Recipe
- Simple Juicy Oven Roasted Whole Chicken Recipe
- World’s BEST Moist Southern Cornbread Recipe
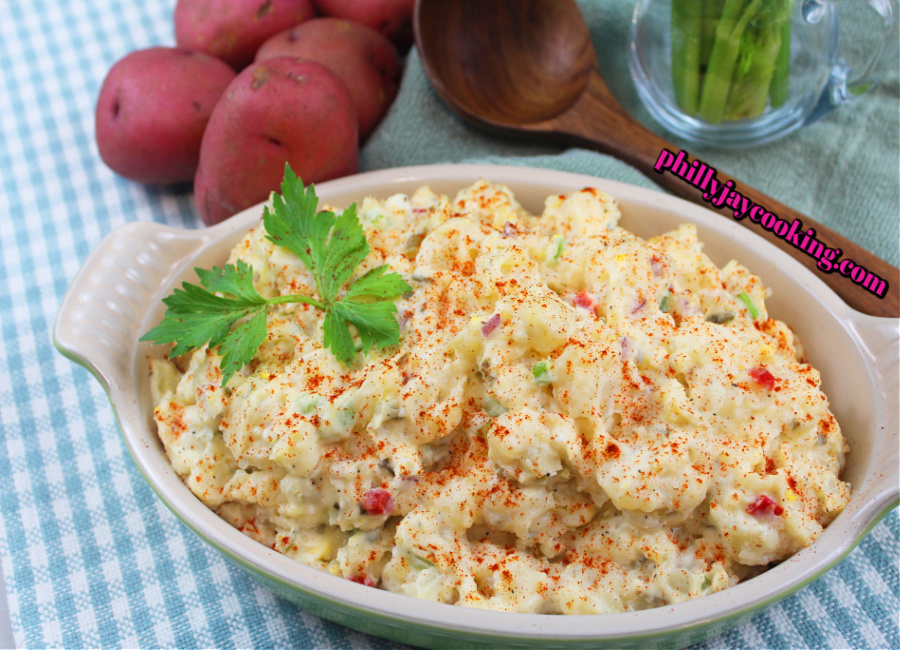
- World’s Best Southern Potato Salad Recipe
Storage and Reheating
- How do you store collard greens? Place them in a container like a glass Tupperware bowl and cover them with a lid, aluminum foil, or plastic wrap, then refrigerate.
- Can you freeze collard greens? Yes, you can freeze your greens. Just make sure they’re tightly sealed to prevent freezer burn. I don’t typically like freezing vegetables, but if there’s any vegetable I’m okay freezing, it’s collard greens because of their thicker texture.
- How to reheat collard greens in a microwave: Place them in a microwave-proof bowl and microwave on high for 2 minutes. Stir after 1 minute and continue heating them up.
- How to reheat collard greens in a pot: Place them in a pot or skillet over medium heat and let them simmer for about 8–10 minutes; stir periodically until hot.
Frequently Asked Questions
- How long do they last? Collard greens, if stored correctly, can last up to five days before they lose their swag. Lol!
- How to double the recipe for a large crowd: Simply double or triple all the ingredients. Just make sure to use a large enough pot (like an 8-quart or larger) or split them into two or three pots so everything cooks evenly.
- Can I use pre-washed bagged collard greens to save time? Yes, but I always recommend buying fresh bunches if you have the time. Bagged greens often include thick, woody stems and require an extra-thorough rinse. With fresh greens, you can cut them yourself, giving you full control over the size.
- Why are my collard greens still tough after cooking for hours? Older greens are naturally tougher and take longer to cook (sometimes up to 2 hours or more). To speed things up, sauté your greens in batches until wilted and glossy before adding liquid. Keep them covered and simmering, adding extra liquid as needed until tender.
- Why do my cooked collard greens turn a dull olive-brown color? That usually happens when greens are cooked uncovered for too long or exposed to too much heat, causing the natural chlorophyll to break down. Keeping them covered while simmering and maintaining a gentle heat helps them keep that rich, dark look.
Equipment
- Knife: You’ll need a sharp knife to cut off the stems and to chop up the leaves.
- Large mixing bowl: A mixing bowl to soak the collard greens in.
- Large Pot: We’re making a lot of collard greens, so we need a large pot with a lid to get them tender.
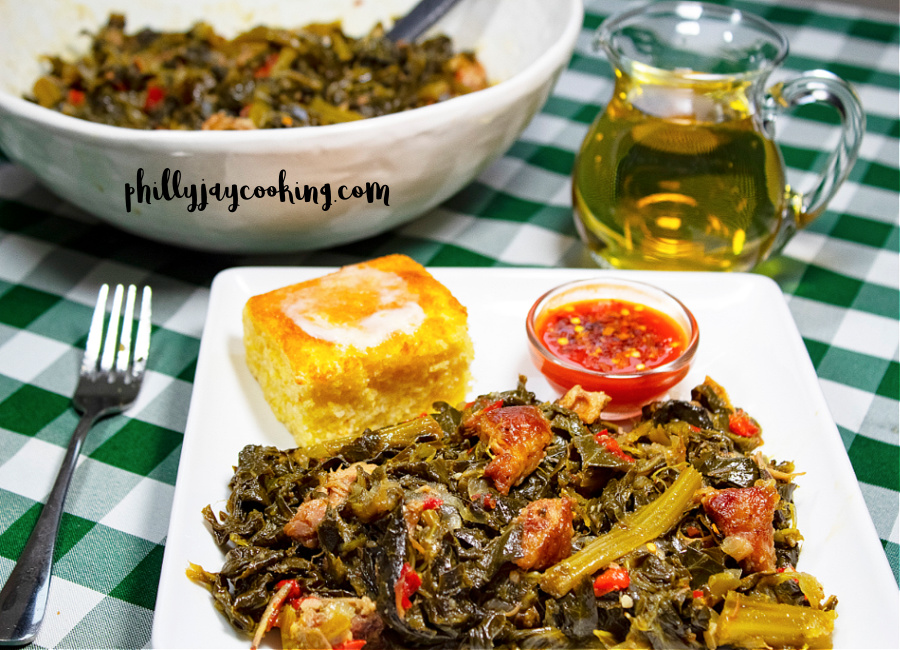
- Slotted Spoon: Use a slotted spoon to stir the greens as they cook and to strain the liquid while serving them.
- Measuring Cups: Measuring cups will help us accurately measure the liquid and vegetables.
- Measuring Spoons: Measuring spoons help us accurately measure the seasonings.
Please leave a comment below letting us know how you like them, and don’t forget to rate; it helps me rank higher in these Google streets! Lol! Also, subscribe to receive email notifications every time I post a new recipe.
Enjoy, later!
PBJ~
World’s Best Soul Food Collard Greens Recipe (Made With Smoked Turkey)
- Prep Time: 1 Hr
- Cook Time: 2 Hrs
- Total Time: 3 Hrs
- Yield: 8
- Category: Vegetable Sides
- Method: Southern
- Cuisine: Soul Food
Description
Juicy, flavorful, soul food style Collard Greens. These are top tier Collard Greens you can’t get enough of. They’re the perfect vegetable side to complete any soul food meal.
Ingredients
- 2 Lbs Collard Greens
- 1/2 Lb Smoked Turkey Tails
- 1 Cup Onions, finely chopped
- 1/2 Cup Green Bell Peppers, finely chopped
- 1/2 Cup Red Bell Peppers, finely chopped
- 3 Tbs Unsalted Butter
- 2 Tbs Vegetable Oil
- 2 Tsps Minced Garlic
- 1 Qt Water
- 1 Qt Chicken Broth
- 1/4 Cup Apple Cider Vinegar
- 2 Chicken Flavor Bouillon Cubes
- 1/4 Cup Sugar
- 2 Tsps Seasoning Salt
- 1 Tsp Garlic Powder
- 1 Tsp Onion Powder
- 1/2 Tsp Black Pepper
- 1/4 Tsp Red Pepper Flakes (optional)
Instructions
- Place a pot over medium heat.
- Add the turkey tails and water.
- Cover with a lid, leaving a crack on the side.
- Boil for 1 hour or until fork-tender.
- Once done, chop the turkey meat up.
- Place a large pot over medium-high heat.
- Add the oil, butter, onions, and peppers.
- Stir and sauté for 3 minutes.
- Add the first pound of collard greens and stir.
- After 3 minutes or once they’ve wilted, add the second pound of collard greens.
- Cook for 3 more minutes or until they wilt and become glossy.
- Reduce the heat to medium.
- Add the remaining liquid from the turkey tails, the broth, vinegar, and minced garlic.
- Add the turkey tails and seasoning, then stir well.
- Cover the greens with a lid, leaving a crack on the side.
- Simmer for approximately 1 hr and 30 minutes or until tender.
Notes
- Cook until tender: If after an hour and 30 minutes, your greens are still tough and the liquid has cooked down, add another 2 cups of broth and continue cooking. Repeat this process until they reach your desired level of tenderness.






Let me tell you. This here is a hit. Everyone asks me to make collard greens. Jay I’ve been watching you for years and you are the reason I can cook. You are a blessing. #GOBIRDS
Haha! Most def Birdgang!
This recipe is the BEST. Tried and true, made several times. That word BEST is thrown around alot but I promise this one is the standard. My go to for years, also quite customizable. Thank you!
Best greens ever! Seasoned to absolute perfection!
Probably my most poplar recipe. So glad yall love it probably more than I do.
I been making my greens like this since the pandemic when I found his YouTube channel.
This is probably one of my favorite recipes that i’ve found for collard greens!!! so much dam flavor!
Yea, the color as I always say and how you know they’ve been seasoned right.
These greens are so good. The recipe is very easy to follow and reminds me of my Great Aunt’s greens. Delicious!
Thanks, Queen 🙂 If my greens can compete with auntie’s, I know I done something right 🙂
Best collard greens ever! From start to finish! Always make these for holidays! Been doing this for years!
Thank you so much for shari g this ! Granny Pistol always had a huge garden on the river frount and we kids were her labor force lol . She rewared us with great meals like these Greens . The recipe tases just like hers 🥰.
Youve Blessed me with memories of greens with chow-chow and fried chicken and corn bread ! It was a Blessed childhood . God Blessya Sugar for the great stuff you are sharing
Thank you so much for sharing this! Granny Pistol always had a huge garden on the river front and we kids were her labor force lol . She rewarded us with great meals like these Greens. The recipe tastes just like hers 🥰.
Youve Blessed me with memories of greens with chow-chow and fried chicken and corn bread! It was a Blessed childhood. God Bless ya, Sugar for the great stuff you are sharing.
I divided the recipe in half since i am by myself and these collard greens are really delicious. I bought the greens cut and washed. Used only half the salt since my broth was kind of salty. Really really good!
Listen! I wish I could comment on the Youtube video. I found you when I found your oven-baked steak recipe and I am sooo glad I did. These greens are it! Undisputed champs for sure! This is the most authentic, southern collard greens recipe. My mama is from a little country town in East Texas and she used to make greens with ham hocks that tasted just like these. You can cook, sir! I hope you make some more videos soon!
These are the absolute best greens I’ve ever had on my first try ever making greens.
I love your recipe for greens with hocks im new at making greens saw your recipe and loved it thank you for making it easy for me to understand , I want to know if you can send me all ingredients to the email address please im older and on dailysis please so I have it in my phone forever thank you so much im making it tomorrow for me and my daughter! Thank you again Phillyjay!
What do you mean send you the ingredients? All the ingredients are available above in the recipe card. And you’re welcome!
I MEAN THE BEST COLLARD GREENS. Nobody can do what you do Jay! I miss your videos. These greens I have made so many times. They are slammin. Best wishes to you and your fam in 2022.
I have some arthritis and a long cooked bone broth is the best medicine, especially from ham hock. I’ve been making collard greens for years after a friend introduced me to them. Watching you cook them on YouTube, I feel like I’ve been *taught*, thank you! I’m gonna start adding the tender end of the stem, then I don’t have to fuss so much about how close to the spine I get with my knife. Folding the leaf to make one cut is brilliant…doh! I appreciate you so much, thanks again.
This.recipe.ISSSSSSS.THEEEEEE.Business!!! That is all!!! Thank you!!!
Been looking for a good greens recipe without pork and this one is spot on. I used a good hearty chicken bone broth and a little Better than Bullion instead of the turkey tail broth/bullion cubes. Never had greens with bell peppers, but I will be including them every time from now on! I always add a splash of cider vinegar at the end as well to give it another acid kick since a lot of the acid flavor will cook out.
I used lots of crushed red pepper. I think the addition of the dehydrated onion and garlic along with fresh onion and garlic really helps boost the pot likker. Typically I eat greens on their own and save the liquid for other recipes later, but we’ve just been eating this like a soup because it’s so hearty.
Loved how these weren’t as greasy as greens made with bacon. This recipe will definitely be on rotation this winter.
Forgot to add — if you’re doing these in the instant pot, I found that 35 mins and then 10 mins pressure release works great. Just make sure to add less water than the recipe calls for or you’ll need to reduce.
I really do appreciate you sharing your talents in the kitchen. For the past 2 years this being the 3rd, I’ve been using your recipe for collard greens and sweet potato candied 🍠 and boy I must say that my wife made me the official green and yam guy for Thanksgiving. PhillyboyJ you got skills. 💯💪🏾
You the best Philly Boy Jay!! My family loved these thank you baby and keep doing what you doing! Much love
This was my first time making Collard Greens and Ham Hocks. I loved it as a kid so i wanted to give it a go. Your recipe was so easy to follow and it turned out perfect. For me the only thing I will probably do different is that it came out a little greasy. I think I will not use as much oil. But that’s just a preference. Everyone loved it!
Thanks
I’m so glad you liked them. Yea, you can always eliminate the oil or just use less oil and butter. I use oil to give the greens shine and help wilt them, the butter just adds flavor, it tastes different without it.
Your collard greens are de-li-cious! Nobody, I mean Nobody makes collard greens like Philly Boy Jay(umm umm umm umm umm)
Hahaha! Thanks!
Best collard greens, no doubt. I tried his original recipe years ago, and this one is even better. Looking forward to anything you do!
You make the best Southern Food! Thank you for your recipes!
Thank you PBJ your collard greens
recipe is the best greens, I’ve ever tasted. I will keep this recipe forever and pass it down to my kids
I’m glad you liked them, bro!
These greens are a hit. My family definitely loved them. Thank you so much for sharing, you have been truly missed!!
Thanks for sharing!
PBJ you need a Patreon site
I think that’s what youtuber call it when people have to pay monthly for a membership. And they get personal stuff or time with you. You can even video call with them and be in the kitchen with them.
I just love your Recipes
Absolutely the best collard green recipe ever!! I will not try another one!
I am SO GLAD you loved it, Stacy!
I first got my collard green recipie from you over 4 years ago, I swear it gets better every time
I add a different meat but usually ham hulks, neck bones and smoked turkey legs but never tried the tails!
A must try and will definitely try with the apple cider vinegar!
I tweak mine a bit and add some Complete Seasoning with 1-2 chicken bullions! I absolutely love adding the red pepper flakes and some sliced jalapeños as well! That’s flava!
Keep the recipes coming! I love the lasagna with the fresh spinach or the sweet potato pie! I could go on and on
These collard greens are full of flavor. Absolutely delicious, I’ve made them with ham hocks and smoked turkey.
This collard green recipe looks pretty simple like most of Phillyjay’s recipes I can’t wait to try this recipe.
Yes Yes Yes, I’ve been cooking your Collard Greens for years now. Everyone loves them. I’ve been cooking them with smoked ham hocks. Will have to try cooking them with smoked turkey tails. Keep the recipes coming!