This is the perfect ham recipe for x mas and definitely a crowd pleaser that will have your family begging you to make it for years to come.
Hey PBJ’s im back with another Holiday recipe and this time, a main dish, Pineapple honey glazed ham. As I said in my last posted chitterlings recipe, Thanksgiving is over, but the holidays, sure enough, aren’t.
So, although I didn’t get all these delicious holiday recipes up to you before the big dinner, Thanksgiving, you can still use them for Christmas and New Year’s dinner, and of course, they’ll still be here for next Thanksgiving.
I’m ecstatic to share this particular recipe because Ham was probably my favorite thing [meat] to eat during Thanksgiving and Christmas dinner. It’s the one thing I looked forward to eating the most.
Watch Me Make It
A Family Holiday Tradition
Ham was a family tradition for us during the holidays. For Thanksgiving, it was always Turkey and Ham. Those were the two big chunks of meat I remember taking up half of my grandma’s dinner table for Thanksgiving and Christmas dinners. Lol!
Thanksgiving was the only time my grandma would make it, so I definitely looked forward to it because I only had it once a year. I loved pulling off the pineapples and cherries and eating them once the ham was done.
Childhood Memories of Christmas Ham
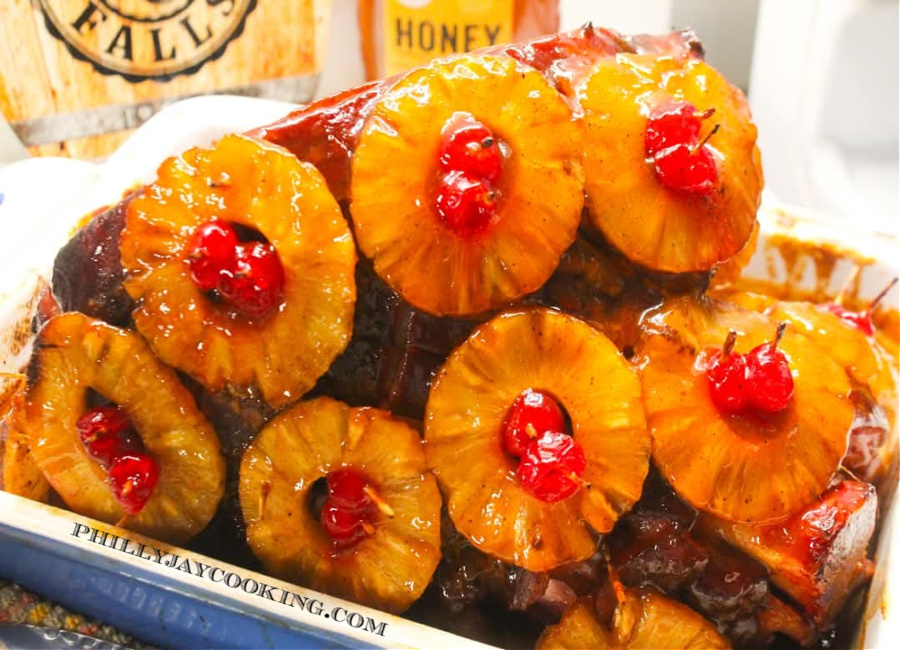
I can remember helping my grand Val place the pineapples and cherries over the ham and pin them with toothpicks. I had a lot of fun doing that. My grandma would pin them in a way where you couldn’t see the toothpicks.
As a kid, before I was old enough to help her cook and prepare food, I remember wondering how the pineapples and cherries stayed on top of the ham. Hahaha! I keep telling you all that I had an imaginative mind and was always very curious about everything. Lol!
I have two other childhood memories I want to share. One of which is my Grandma Val adamantly saying, “Boy, don’t eat all that fat!” As we all know, ham can be very fatty, especially around the edges, where you’ll find thick layers of fat. I’d never pay that any mind because I was too busy devouring it to care.
I do remember biting into a big chunk of ham fat and thinking, “This is so flavorful”. My grandma would always make sure my slices of ham weren’t too fatty. I think she just wanted it for herself. Haha. While I still look to suck on a tasty piece of fat, you’ll never find me eating it now.
The second memory that stands out is of my Nana, Alice Mea, going to the grocery store around Thanksgiving and Christmas, and seeing her flip several hams over three to four times to decide which one to buy. I now know why she’d always thoroughly check them before purchasing one.
Analyzing and selecting your meat, whether it’s ham, chicken, steak, or fish, is something I now do as an adult. I dont just pick anything up and keep it moving anymore. I have to make sure it’s right and to my liking. Lol!
Like my nana, I look to ensure there are no bruises, dark colors, or anything else that shouldn’t be on it. In the case of Ham, I look for one that is nice and meaty with a decent amount of fat, but not too much. Most of the fat is on the sides of the ham, so it’s easy to tell if a ham is too fatty.
While fat is essential for flavor, some hams can be too fatty. So when I look for a ham to buy, I find one that’s nearly 85% pink in color, which means it’s meaty because the pinkish color is the meat, and the whitish marbled part is the fat.

-
Save
Ingredients:
- Ham: The main ingredient here. Get an 10 lb fully cooked bone-in shank portion ham.
- Mustard: It’s a gluing agent that helps the spices stick to the ham during the early cooking stage. It also adds flavor. Yellow mustard does wonders for ham, balancing out the sweetness with a hint of tartness.
- Vinegar: Apple cider vinegar adds depth of flavor and a little tang to the ham and glaze.
- Spices: Brown Sugar provides a hint of sweetness and adds a mild molasses flavor, and the Ground Cloves, Ground Ginger, and black pepper make the ham taste like Christmas.
- Pineapples and cherries: The canned sliced pineapples in juice and maraschino cherries are solely for decoration purposes.
Glaze ingredients
- Butter: The unsalted butter is for flavor… it’s essential for a delicious glaze.
- Sweeteners: The brown sugar and honey are both for sweetness and depth of flavor, and the honey helps with the consistency of the glaze and gives it a glossy appearance.
- Liquids: Pineapple juice is for the flavor; this is the pineapple honey glaze we’re making. The water is used to smooth out the cornstarch in the slurry.
- Thickener: Cornstarch serves as the thickener, thickening the juice into a glaze.
Carving deep cuts vs injecting ham
Marinating food has been a culinary practice for many years. People use dry rubs, marinades, and most importantly, TIME to inject flavor into meat.
The goal is not just to season or add flavor to the top of your meat, but to infuse it with flavor throughout, so you can savor the flavor in every bite, resulting in a better, more enjoyable dish.
Since ham is large, carving holes into the meat and injecting it with flavor is the most effective and convenient option. Here’s are a few options to inject flavor into your ham.
- Pre-Sliced Spiral Ham: A spiral ham is your best alternative to all of this because with this ham, you dont have to worry about injecting it with flavor since it’s already sliced into several pieces leading to the center. Just basting it while it bakes is all you’ll need to do.
- Injection: Many people like to inject flavor into ham with a meat injector. Be sure to do this slowly, as the juices will squirt out of the holes if you inject them too fast. Also, inject every part of the ham so that the flavor is thoroughly and evenly distributed throughout.
- Carve holes into it: Carving deep crevices into the ham is also an effective way to inject flavor into the core of the meat. It’s similar to how cooks and chefs poke holes into their chicken, steak, or salmon before marinating or seasoning it. This is how I prefer to infuse my ham with flavor.
How to make the pineapple honey glaze
Now, when it comes to glaze, I keep it simple with a few ingredients. I use butter, brown sugar for sweetness, honey to achieve a nice consistency, and pineapple juice to give it a pineapple flavor. I also add a slurry to thicken the glaze, which consists of water and cornstarch.
- First Step: Place a pot over medium heat and add the butter and brown sugar. Stir it in well until it’s dissolved and glistening.
- Second Step: Stir in the honey and pineapple juice until well blended.
- Third Step: Create the slurry by combining a small amount of water and cornstarch until smooth, then pour it into the pot and stir.
- Fourth Step: Simmer until it thickens, about 10 minutes. Make sure to whisk periodically to break up any lumps that tend to form.
Temperature, cooking time, and doneness
- Bone-In Ham: The rule of thumb for baking a bone-in ham at 325°F is to bake for 15 minutes per pound. So, since we’re working with a 10-pound ham, that will take 2 hours and 30 minutes.
- Boneless Ham: Boneless ham takes less time so at 325F you will bake it at 10-12 minutes per pound.
I prefer baking the ham at 325 F opposed to 350 because I find that it leaves the ham most moist and tender, and it helps it to cook evenly and prevents it from drying out by cooking lower and slower vs higher and faster at 350 F
How to make Pineapple Honey Glazed Ham
- Preheat the oven to 325°F.
- Score the ham by carving 1/8th inch deep horizontal and vertical or diagonal slits into and all around the ham.
- Rub all sides of the ham down with a thin layer of mustard.
- Pat the brown sugar, black pepper, clove, and ginger onto the ham, making sure each part is covered.
- Pin the pineapples and cherries to the ham.
- Inject the ham with the apple cider vinegar.
- Cover the ham tightly with aluminum foil and bake for 2-1/2 hours.
- Meanwhile, combine the water and cornstarch to create a slurry.
- Place a saucepan over medium heat, add the butter and brown sugar, and stir well.
- Stir in the honey and pineapple juice.
- Add the slurry, stir well, and simmer for 5-6 minutes.
- Whisk well, once it begins to bubble and thickens, then cut the fire off and set aside.
- Remove the aluminum foil.
- Pour the glaze over the ham and into the baking dish.
- Turn the heat up to 400 F and add the ham back to the oven uncovered once the temperature reaches 400 degrees.
- Baste the ham 2-3 times as it bakes for an additional 20 minues, then remove.

-
Save
Tips For Best Results:
- Stir liquid: Lumps can sometimes form as the slurry thickens into a glaze, so make sure to stir the liquid after removing the aluminum foil
- Baste ham: Baste the ham. This will prevent the top of the ham and the pineapples from drying out and burning. Basting also keeps the inside moist as the juice flows into the center through the slits and crevices. It also helps to brown and give the ham a lovely color.
- Check for doneness: Use an instant thermometer, especially if you’re a new cook. This is an easy way to tell if your ham is done. Stick it in the middle and thickest part of the ham, and if it reads 140°F, your ham is done. Check after at least 2-1/2 hours.
- Wait to add the ham back: After cranking the heat up from 325 F to 400 F, wait until your oven beeps and it reaches 400 F before adding the ham back to the oven.
- Let it rest: Give the ham 15 to 20 minutes to rest after removing it from the oven before slicing. Heat pushes the juices to the center. Letting it rest for 15-20 minutes allows the juices to redestribute back throughout the ham so all parts are moist, juicy, and flavorful.
Serving Suggestions
Since ham is a holiday main dish, I’m going to give you a few sides and vegetable side dishes we commonly make to go along with it, especially for a Thanksgiving or Christmas dinner. Some of these dishes you can find right here on my blog.
- SIDE DISH OPTIONS: World’s Best Southern Potato Salad, World’s BEST Moist Southern Cornbread
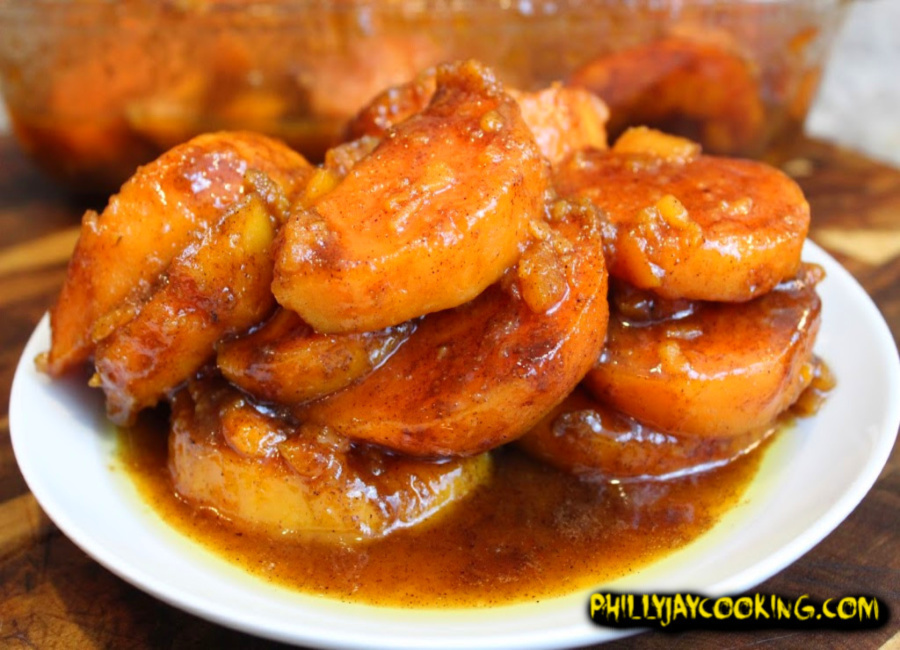
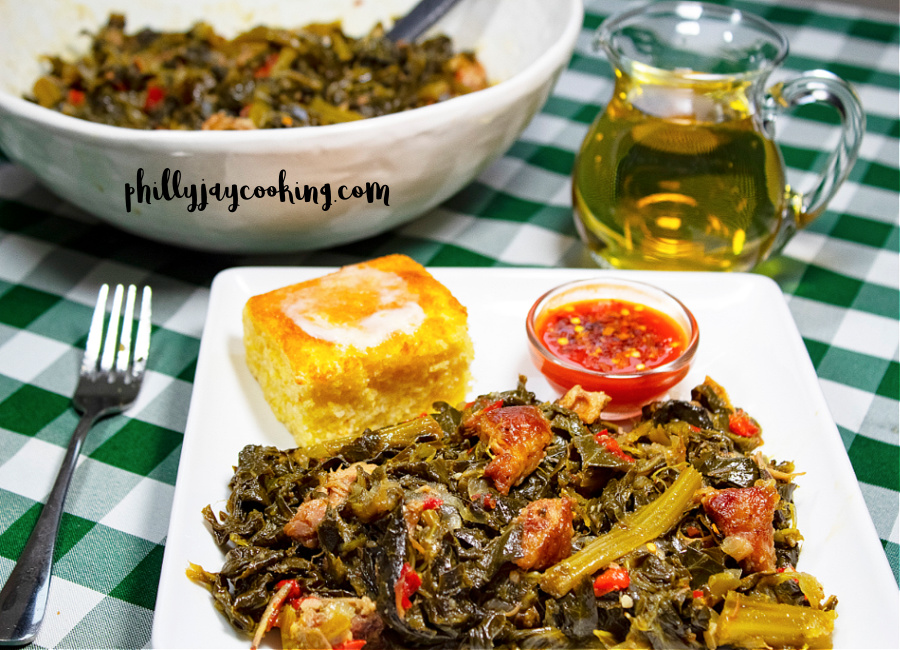
- VEGETABLE SIDE DISH OPTIONS: World’s Best Southern Collard Greens, The Best Soul Food Style Candied Sweet Potatoes
Have any leftover Ham?
Ok, so about that other childhood memory. I have memories of one of my aunts waking up in the middle of the night at Grandma’s house, making ham sandwiches. We always found something to do with leftovers.
Aunt Pam, yea the same one I mentioned in my Simple Juicy Roasted Whole Chicken Recipe , who makes a chicken salad using leftover meat from baked whole chicken, would do something similar with leftover Thanksgiving turkey meat.
- Ham Sandwich: You can take that ham, slice it into long, thin pieces, and fry it for a few minutes over medium heat with onions. Then, place the fried ham and caramelized onions on a bun with mustard and live your best life.
- Ham in Mac n Cheese: Ham in baked macaroni and cheese is very popular nowadays. You can chop the leftover ham up into small pieces and add it to your macaroni and cheese, like you would the cheese, and bake it as usual.
- Ham in Lima Beans: Leftover ham is perfect for this dish. Instead of boiling ham hocks for hours until tender, simmer your beans as usual, then chop up the leftover ham into small pieces and add it to the pot of beans.
- Ham for Pizza: Ham on pizza is also a good idea. I haven’t tried doing this myself yet, but I know people who love it will enjoy it. Chop the leftover ham into thin, small pieces, add it to the top of your pizza, and enjoy.
Storage and reheating
- How do you store ham? Cover it with plastic wrap or aluminum foil and store it in the refrigerator.
- Can you freeze a ham? Absolutely! Ham freezer greatly. Just ensure it’s fully sealed in a Ziploc bag so it doesn’t get freezer burn.
- How to reheat in a microwave: Slice the ham, place it in a microwave-proof dish, and reheat for 1 minute. Let it go for another 30 seconds if needed.

-
Save
Frequently Asked Questions
- Do you cover it with aluminum foil? YES! YES! YES! For a nice tender ham, covering it with aluminum foil for the first 2-3 hours is eesential. Then you’ll remove it once it’s time to add the glaze.
- What happens if you add the glaze at the beginning? Not much…. I’ do it’ve done it before. But you risk scortching the glaze due to it cooking for a long time. Covering the ham with aluminum foil should prevent this but adding the glaze last prevents scortching which can reduce it’s potency and quality of taste.
- What should I do with the liquid after removing the aluminum foil? If there is too much liquid left over, remove most of it because adding the glaze to ALOT OF LIQUID will delute it and it wont taste as good. It’s ok to keep some of those juices in the pan because the spices at the bottom add flavor to the glaze, and thins it out giving it the perfect consistency.
- How long does it last? Ham can last up to a week and for months if properly stored in the freezer.
Other holiday recipes you might like:
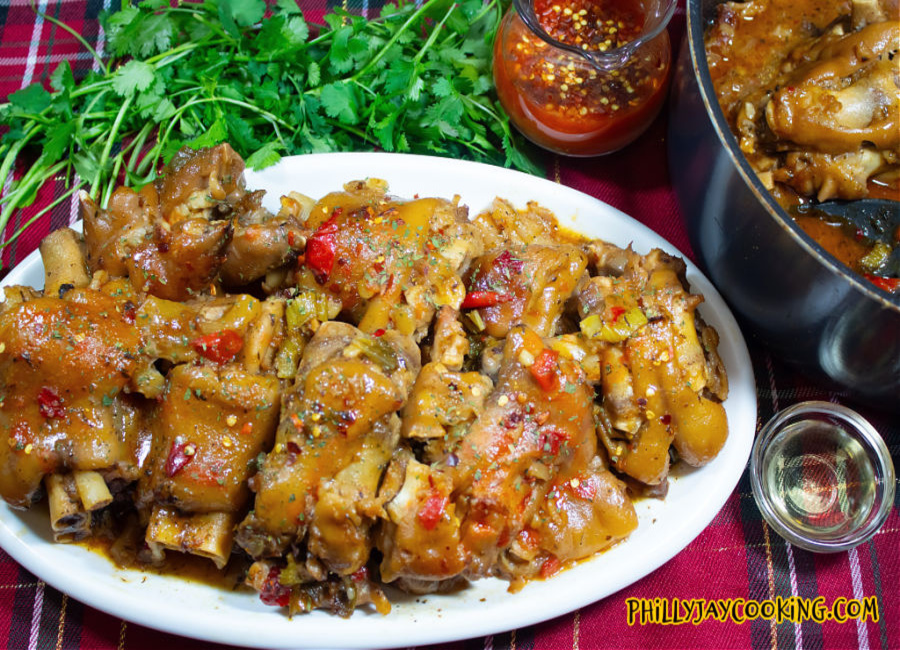
- The BEST New Year’s Eve Pig’s Feet Recipe
- Simple Juicy Oven Roasted Whole Chicken Recipe
- Gwen’s Southern Chitterlings (Chitlins) Recipe
Equipment:
- Knife: You need a knife to carve slit into the Ham. Make sure the knife is sharp.
- Baster: Make sure you have a baster to drizzle the liquid over the ham. This browns the ham and gives it an amazing color.
- Food Injector: This is the best option for infusing flavor throughout the ham, deep into the core, and into the layers of meat.
- Instant Thermometer: To check for doneness.
- Toothpicks: Have some toothpicks on deck to pin the pineapples and cherries.
- Casserole Dish: A large casserole dish or baking pan is needed to cook the ham.
- Measuring Cup: Measuring cups are needed to accurately measure the pineapple juice, brown sugar, honey, etc.
- Measuring Spoons: You need measuring spoons to measure the spices..
That’s it, folks, it’s time to goooo! Get your ingredients, get in the kitchen, and get to cooking up this beautiful ham that will make your Christmas Merry.
If you love this ham, and I know you will, please give me a 5-star rating and leave a review below, letting the readers know how good it was. Also, subscribe to receive email notifications every time I post a new recipe.
To stay updated on everything Philly Jay Cooking, follow me on social media at the following links. Facebook, Pinterest, Twitter, Instagram, and YouTube.
Enjoy, later!
PBJ~
Print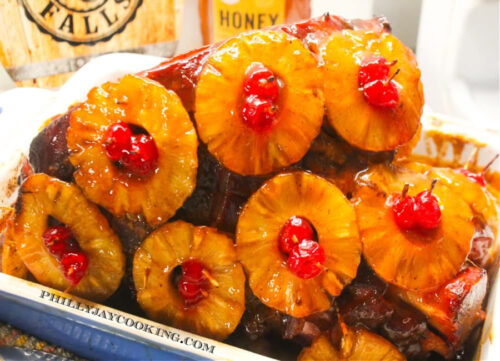
-
Save
Pineapple Honey Glazed Ham For Christmas
- Author: PhillyboyJay
- Prep Time: 20 Mins
- Cook Time: 2 Hrs 50 Mins
- Total Time: 3 Hrs 10 Mins
- Yield: 10-12
- Category: Holiday Season
- Method: American
- Cuisine: Soul Food
Description
Tender, juicy, succulent ham with a sweet and tangy pineapple honey glaze that will put you in the holiday spirit.
Ingredients
- 10 Lb (Fully Cooked) In-Bone Shank Portion Ham
- Maraschinos Cherries
- (2) 10z Canned Pineapple Slices In Juice
- 1/4 Cup Apple Cider Vinegar
- 1/4 Cup Mustard
- 1 Cup Brown Sugar
- 2 Tsps Cinnamon
- 1 Tsp Ground Ginger Powder
- 1 Tsp Ground Clove
- 1/2 Tsp Black Pepper
Pineapple Honey Glaze - 3 Tbs Butter
- 1/2 Cup Brown Sugar
- 1/2 Cup Honey
- 1–1/2 Cup Pineapple Juice
- 1/4 Cup Water
- 4 Tbs Cornstarch
Instructions
- Preheat the oven to 325°F.
- Score the ham by carving 1/8th inch deep horizontal and vertical or diagonal slits into and all around the ham.
- Rub all sides of the ham down with a thin layer of mustard.
- Pat the brown sugar, black pepper, clove, and ginger onto the ham, making sure each part is covered.
- Pin the pineapples and cherries to the ham.
- Inject the ham with the apple cider vinegar.
- Cover the ham tightly with aluminum foil and bake for 2-1/2 hours.
- Meanwhile, combine the water and cornstarch to create a slurry.
- Place a saucepan over medium heat, add the butter and brown sugar, and stir well.
- Stir in the honey and pineapple juice.
- Add the slurry, stir well, and simmer for 5-6 minutes.
- Whisk well, once it begins to bubble and thickens, then cut the fire off and set aside.
- Remove the aluminum foil.
- Pour the glaze over the ham and into the baking dish.
- Turn the heat up to 400 F and add the ham back to the oven uncovered once the temperature reaches 400 degrees.
- Baste the ham 2-3 times as it bakes for an additional 20 minutes, then remove.
-
Save








I use this Recipe along with the Candied Yams and Chili! Every recipe is Fireeeee!! I love PBJ 🙂
Can’t wait for the Cook Book!
It’s coming once I stack up enough tried and tested recipes. 🙂
I have been making this ham for about 8 years from your YouTube page. The best recipe hands down!! I make it every Easter, Thanksgiving and Christmas! Thank you so much for this one! 🔥
I learned all my cooking from phillyboyjay! This ham recipe is a hit every Christmas! The recipe is easy to follow and it comes out looking and tasting incredible!
I love this recipe! I use this recipe every year and it never misses!!! Thank you Jay you the best!!
Thanks for commenting. Yes, this ham recipe is fire. It took a lot of experimenting to get it this good though.