
I love seafood, and shrimp has to be my favorite, after only lobster, of course. Lol! I like them small, medium, large, and jumbo… I like them steamed or fried, and I even add them to many of my favorite dishes, too.
Sometimes, I like to use them as a garnishment for my seared T-bone and Ribeye steak. I also put shrimp in my salads and love them in Fettuccini alfredo. So, as y’all can see… I really love shrimp!
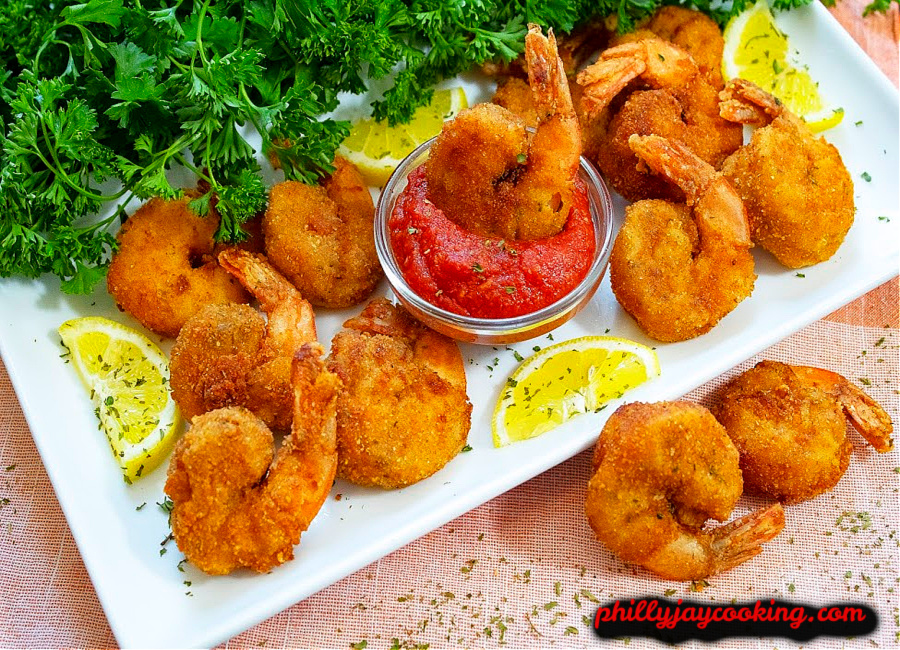
So you know I had to make a fried shrimp recipe!!! And if you’re looking for a good but simple one, this one is definitely a keeper! I remember my parents frying shrimp almost every Friday night during the summer.
They would also fry pounds of fish – I guess they call themselves having a weekend seafood fish fry. And when my nana made them, they would always be so flavorful, juicy, crispy, and well seasoned.
What to love about this fried shrimp recipe:
- Easy to make: Shrimp are so easy to make, so easy that a teenager should be able to follow this recipe and cook them with ease. All you’re doing is coating and frying. With my simple, direct instructions, this recipe is hard to mess up.
- Takes little time: Fried shrimp takes about 30 mins to cook, which is one reason I love them so much. All you do is do a little cleaning, season, and combine your binding ingredients, coat, and fry. Nothing to it but to do it; it’s not laborious at all!
- Fan favorite: Everybody loves fried food and seafood… I don’t mean literally, but shrimp is popular, especially fried shrimp. If you follow this recipe to a T and take it to a cocktail party, no one will have any complaints.
Ingredients you’ll need:
- Meat: Large Raw Deveined Shrimp
- Binding: Whole Milk and Large Eggs
- Breading: All Purpose Flour and plain breadcrumbs
- Seasonings: Seasoning salt, Old Bay, Cajun seasoning, Garlic powder, and Black pepper
- Fat: Vegetable Oil and Unsalted butter
Devein the shrimp
- Shell & tail on: I’m using raw shrimp, and it comes in a bag that may read “shell & tail on,” which means you have to remove them yourself.
- Peeled and Deveined: When a bag of shrimp reads, “Peeled & deveined,” it means the shell and tail have been removed along with the black strings, which are the shrimp’s digestive tract.
- Double-check: I find that they rarely ever remove all of it, so be mindful of that and check to see if there are any remaining black lines, which AGAIN is the shrimp’s digestive tract. Remove them if you see any.
The egg wash
- What is egg wash? Egg wash is an adhesive/gluing agent that helps breading, such as flour, cornmeal, and breadcrumbs, better stick/adhere to the meat.
- What is it made of? Egg wash is typically made of eggs and milk. But people also combine the eggs with other things, such as hot sauce, pickle juice, or buttermilk, to help tenderize or add flavor to the meat.
- When and how do you use it? You basically dip and fully submerge the meat in it, then you dredge your meat in whatever you’re coating it with. This egg wash makes the breading hold to the meat better during frying.
- Important notes: I would always give the fish, chicken, pork chops, or whatever meat you’re cooking 15 to 20 minutes to rest on a baking rack before frying.

Breading options
- Panko Breadcrumbs: Panko breadcrumbs leave a very crunchy exterior. This is probably the most common breading used for fried shrimp.
- Plain Breadcrumbs: Plain breadcrumbs are very fine, unlike their larger counterpart, panko breadcrumbs. It leaves a very even sandy texture and exterior, as seen in the recipe photos.
- All-purpose Flour: Flour is often used as the first layer of coating before the shrimp is dredged in the egg wash but can also be used as a final coating as well.
- Other options: You can use cornmeal, although that’s not common, or you can grind up your favorite bag of chips or crackers and coat the shrimp with that if you want. What you coat them with is up to you. Experiment and have fun.
Preheating the oil
- Make sure the oil is hot: Make sure the oil is HOT before adding the shrimp. People often make the CRITICAL mistake of adding shrimp to cold oil. This causes the shrimp to absorb the oil and become greasy which will prevent it from getting crispy.
- Don’t preheat too long: Make sure not to preheat the oil for too long because the oil will splash and pop all over the place when you add the shrimp. You also dont want to burn the oil or the shrimp.
- Gets crispy fast: If the oil is hot when you add the shrimp, it will fry immediately, which is what you want. If not, the breading you coated your shrimp (meat) with will come off and float to the bottom of the pot and burn.
Keys to crispy, tender shrimp
I remember trying to make shrimp for the first time. I tried to prepare them the way my nana did, and let’s just say… I failed HORRIBLY because I wasn’t aware of these two important steps!!! The key to the perfect shrimp are:
- Short cooking time: Frying them for a short period of time, 3-4 minutes, is key to juicy, tender shrimp. Shrimp are not meant to be cooked for long. Lol! Overcooking them will result in dry, chewy shrimp.
- High heat: Frying them at a high temperature gets them crispy fast, which is what you want because if you fry them for too long, AGAIN, you will dry them out and ruin the texture.
How to make crispy fried shrimp
- Peel the shrimp, then set them aside.
- Combine all the seasonings.
- Combine the eggs and milk, then whisk well.
- Season the shrimp with half of the seasonings and the flour and breadcrumbs with the remaining half.

- Coat the shrimp (a few at a time) with the seasoned flour, then shake off the excess flour.

- Dip the flour-coated shrimp in the egg wash and let the excess egg drip off.

- Coat the shrimp with breadcrumbs, then set aside.


- Place a small pot over medium-high heat, then add in the oil and butter.
- Once the oil is hot, after 4 minutes or so, and reaches 375°F, add in the shrimp 6-8 at a time.
- Fry for 4 minutes, then set aside on a cooling rack with a paper towel underneath.

Tips for best results:
- Fry in batches: Frying too much at a time not only brings the temperature down and creates moisture which prevents shrimp from getting crispy.
- Keep the temperature high: Start the frying temperature at 375 degrees and keep it above 350. When you add shrimp to the oil, the temperature drops, so try to keep it above 350 if possible while it’s cooking.
- Set on a cooling rack: Set your shrimp on a cooling rack so excess oil drips off. If you set it on a paper towel, the shrimp will absorb the oil, which may make it soft and soggy.
Serving suggestions:
- Tartar sauce: Tartar sauce goes with seafood, like peanut butter goes with jelly. Tartar is one of the most common dipping sauces for fried shrimp.
- Cocktail sauce: Cocktail sauce is synonymous with shrimp and is probably the #1 condiment of choice for fried shrimp.
- Lemon juice: A little drizzle of lemon juice over fried shrimp tastes pretty good and is something a lot of people enjoy.
- French fries: I don’t need to say much here. Lol! When you think of a shrimp platter, you think of crispy fried shrimp served with french fries.
Storage and reheating
- How to store them: If you have any leftovers, you can simply wrap them in aluminum foil, or you can set them in a Tupperware bowl and cover them with a lid, then set them in the refrigerator.
- Can you freeze them? You can put these shrimp in a Ziploc bag and freeze them. You don’t have to cook them immediately. After adding the breading you can store them in the freezer. They’ll be fresh for months.
- How to reheat the shrimp in an air fryer: The best way to reheat leftover fried shrimp is to air fry them at 370°F for 5 minutes.
- How to reheat the shrimp in the oven: You can bake them at 350°F for 10-15 minutes to get a nice crispy exterior again.
Frequently Asked Questions
- Will I get sick if I eat the digestive tract? No, not at all… people love to eat Dungeness crab poop! Haha! It’s actually safe to eat. People just prefer to remove it because they know what it is and because it has a slightly bitter taste.

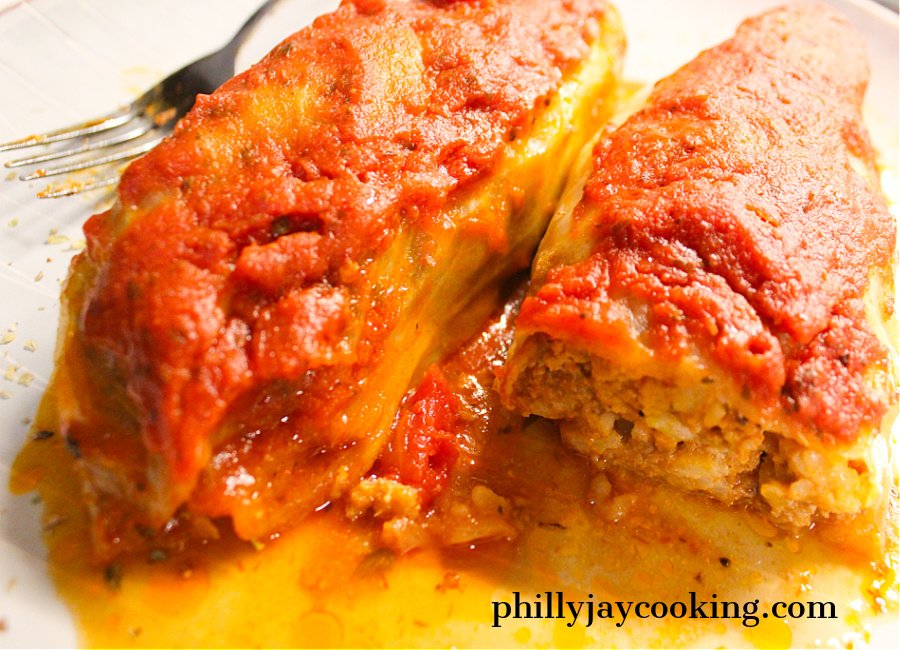
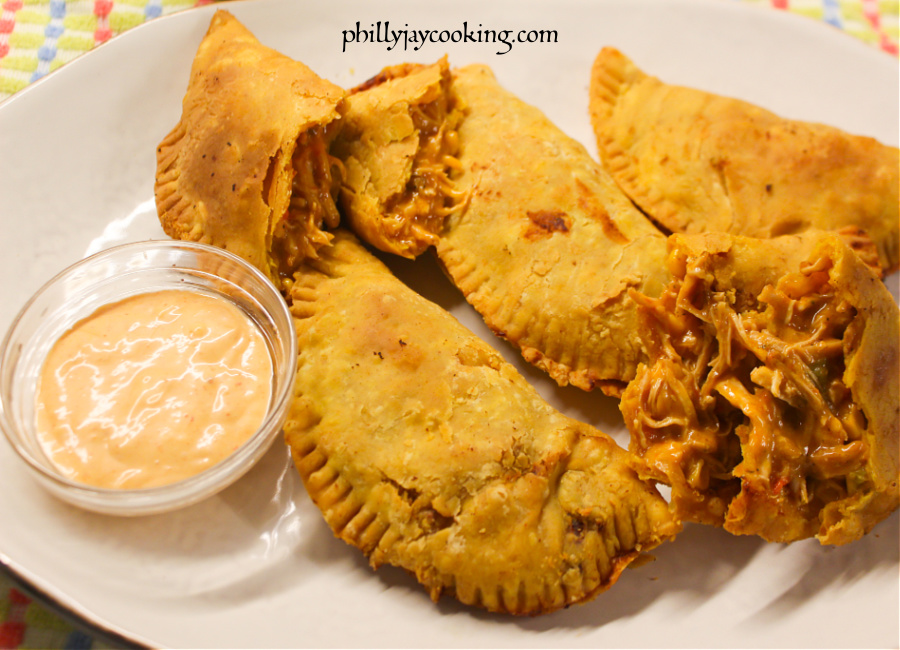
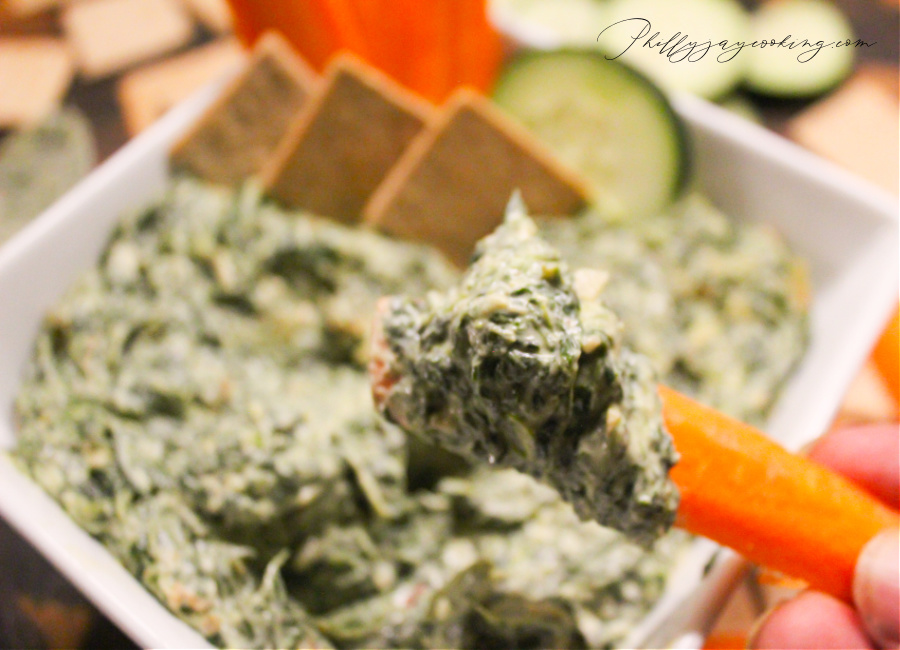
Other appetizers you might like:
Equipment:
- 3 Small Mixing Bowls: Make sure you have three small mixing bowls, one for the flour, one for the egg wash, and another for the breadcrumbs.
- Large Skillet: You’ll need a large skillet or pot to fry the shrimp in.
- Slotted Spoon: Make sure you have a slotted spoon on hand to add the shrimp to and remove it from the pot of oil.
- Cooling Rack: Have a cooling rack to set the shrimp on after they fry.
- Measuring Cups: You need measuring cups to measure the flour, breadcrumbs, and oil accurately.
- Measuring Spoons: You need measuring spoons to accurately measure the seasonings.
Ok, PBJ’s… I hope yall enjoy this fried shrimp recipe. If you do, please leave a comment below, letting us and the viewers know how things went. Also, subscribe to receive notifications every time I post a new recipe.
Also, don’t be a stranger! Follow me on social media at the following handles: Facebook, Pinterest, Twitter, Instagram, and YouTube. See ya soon, God bless!
Enjoy, later!
PBJ!
Print
Delicious Easy Crispy Fried Shrimp Recipe
- Prep Time: 30mins
- Cook Time: 15mins
- Total Time: 45mins
- Yield: 4
- Category: Seafood
- Cuisine: American
Description
Crispy, juicy, delicious fried shrimp seasoned to perfection. The perfect appetizer for birthday and cocktail parties.
Ingredients
- 1 Lb Raw Jumbo Shrimp
- 2 Large Eggs
- 2 Tsps Whole Milk
- 3 Cups Vegetable Oil
- 2 Tbs Butter
- 1 Cup All-Purpose Flour
- 1 Cup Plain Breadcrumbs
- 1 Tsp Seasoning Salt
- 1 Tsp Old Bay Seasoning
- 1 Tsp Garlic Powder
- 1/2 Tsp Italian Seasoning
- 1/2 Tsp Black Pepper
- 1/4 Tsp Cajun Seasoning
Instructions
- Peel the shrimp, then set them aside.
- Combine all the seasonings.
- Combine the eggs and milk, then whisk well.
- Season the shrimp with half of the seasonings and the flour and breadcrumbs with the remaining half.
- Coat the shrimp (a few at a time) with the seasoned flour, then shake off the excess flour.
- Dip the flour-coated shrimp in the egg wash and let the excess egg drip off.
- Coat the shrimp with breadcrumbs, then set aside.
- Place a small pot over medium-high heat, then add in the oil and butter.
- Once the oil is hot after 4 minutes or so and reaches 375°F, add in the shrimp 6-8 at a time.
- Fry for 4 minutes, then set aside on a cooling rack with a paper towel underneath.
Notes
- The first batch of shrimp will take longer to fry because the oil cools down when you add the shrimp to the oil. The 2nd, 3rd, and 4th batches of shrimp won’t take as long to brown because the oil will be hotter.
- The butter isn’t necessary! I use it to add flavor to the oil. Everything tastes better with butter.
Nutrition
- Serving Size: 4

Join My Patreon!
Get exclusive access to content you won’t find anywhere else! When you become a member, you’re not just supporting the channel – you’re becoming part of the family.
Videos
Scenes
To Recipes
Memberships
Help keep the recipes coming!
Your support helps me create more delicious soul food recipes, fun videos, and memories we can all enjoy together.


Husband said that this was the best fried shrimp 🍤 he’s ever had! And? I’m a great cook!
Thank you for sharing all your delicious recipes! I love how personable you are. Can’t wait to try this recipe
This recipe is easy to follow. I love your logic the details. The shrimp were mmm mmm mmm mmm mmm mmm mmm…AMAZING! Thanks for sharing your talents.
Just cooked these fried shrimp and they’re the BEST!
I can’t wait to try this!
Best shrimp I’ve ever made
You tried it and actually followed the recipe to a T? gLAD YOU LOVED IT
I wonder if I can use this with flounder. Thinking about frying some flounder today.
So gonna try this
Thank you for the tasty recipe
Oh boy i can’t wait to try these! I love seafood
Delicious!