If you are a fan of chitlins and want to try and make them how your grandma used to, trust me, this is the recipe for you. It may not be your Grandma’s chitlins, but you’ll love them, and even she’d be proud because these are FIYA!!
– Pbj Fan
PBJ’s, Let me start off by saying I’m super excited to finally post this recipe for two reasons. 1. because it’s necessary to have a chitterlings recipe on your blog as a BLACK MAN lol and 2. because they’re so darn good.
This is the perfect time of year to post a chitterlings recipe since they are very popular around this time of year, and our folks and people from the South love to make them the most.
First things first, black folks and Southern folks call them “CHITLINS,” not CHITTERLINGS, so let me just get that out the way if I spell them chitlins a few times throughout this post. That’s just the brutha in me typing it how it’s pronounced. Haha!
Now… Thanksgiving has passed, and I couldn’t post this or my other Thanksgiving dishes before the big dinner as I would have liked, but that’s because I’ve been very busy.
However, I’ll post this and a couple more Thanksgiving dishes next week that you can still make for Christmas or New Year’s dinner. Let me explain why I love chitlins so much and what I remember most about them as a child.
By the way, this is a modification of my Grandma Gwen’s chitlins. She would always make them around this time of year, and people, including my mom, who no longer eats them due to health reasons, loved her chitlins.
No one is messing with Gwen’s chitlins. She made them for us and many others for Thanksgiving, and I do not know how because they are not easy or quick to prepare.
Childhood Memories of Chitterlings
The one thing I remember most about these delicious little chunks of pork meat is how strong the smell is, seeing my Grandma Gwen clean them, and the many big red buckets they came in, sitting on her kitchen counter.
That’s right, the red buckets. Those are the ones she would always buy and make. They would always be frozen, sticking tightly together in a big red bucket, which was only enough for 7-8 people after you cleaned and cooked them down. Lol!
This was especially true if you were making them for folks who loved chitlins and wanted second, third, and fourths, like my family. Another memory I have of chitlins is of this light-skinned lady, Maxine, who lived in the projects.
She, like my Grandma Gwen, was known for making some mean Chitlins. Days before Thanksgiving, people would come to her house with red buckets of chitterlings. Everybody came off like hustle in the hood back then.
So we all had ways to make money, whether that was by skill in hair, repairing clothes, being a handyman, or cooking. This is how Gwen, Maxine, and so many others who were good at cooking made some extra coins.
How Maxine and my grandma Gwen cooked all those chitterlings for hours and did all of that cleaning and prepping is still a mystery unknown to man. I’ll just never be able to clean that many chitlins by myself.
A family Tradition
Chitlins were definitely a family tradition for me and many other African Americans, especially those living in the South. They were a popular dish within our culture and something many of us made specifically during the holiday season.
Sort of like Baked Macaroni And Cheese, Candied Sweet Potatoes, aka Yams, Cornbread, Collard Greens, Potato Salad, Sweet Potato Pie, Black Eyed peas, and Pig’s Feet. These are all considered popular soul food dishes you’ll almost always find on black folks’ Thanksgiving dinner tables.
By the way, I have a recipe for all these dishes, so click on the links provided. Anyway, they were not only a family tradition but a black African American tradition. They’re cultural, and many black folk love them. I’ll get more into that in a few minutes.

-
Save
Chitterlings Facts
So I’m sure some of you, especially my non-black readers, may not know what chitterlings are. Maybe you’re from overseas somewhere where they’re not as common, or a caucasian from Utah who’s never had them. Lol!
Maybe you’re a younger person who has never heard of them and comes from a family that isn’t fond of them, but you are interested in learning more about them. I’ve decided to answer some common questions about chitterlings.
What are chitterlings?
So this is probably one of the most common questions I get, and it’s also one of the reasons chitlins are despised by so many people, other than the fact that pork is one of the most hated meats in the country for religious and health reasons.
Chitterlings are simply the large intestines of pork—the pig! Now, they typically come from pigs but are also made from cows, lambs, geese, and goats. That was news to me because I didn’t know that. But yes, simply put, they are animal intestines, usually of pigs.
If you know anything about the intestines, you know they are long tube-shaped organs that complete the digestion process of food, aka the bowels. The thought of chitlins being an organ that waste runs through is enough for most people to detest them.
History of chitterlings
Chitterlings became a popular delicacy for African Americans years ago during slavery. This is why they’re often considered or called SLAVE or POOR MAN’s food, which is partially true because that’s what slaves were fed.
Enslaved people were given what was considered the less desirable animal meat, such as the intestines, feet, and snouts, left over from animal butchering. But slaves were great cooks and very strong, creative people.
They would find a way to take what were scraps and considered undesirable and turn them into a delicious dish that many people, despite what they are, still love to this day. This is how people in the U.S come to know of chitterlings.
Chitterlings are now a soul food staple strongly connected to black African American heritage. But believe it or not, slave masters came to love and eat them long before they became food for slaves.
While I couldn’t find much information about the origin of chitterlings in other parts of the world, I read that they can be found in East Asian cuisines, where they are added to stir-fries and soups.

-
Save
Recipe Ingredients
- Main ingredient: 10 lbs of Chitterlings
- Liquid: Water, Chicken broth, and Apple Cider Vinegar.
- Vegetable Add-ins: Onions, Green and Red Peppers, Celery (optional), and Garlic.
- Seasonings: Seasoning salt, garlic powder, onion powder, Paprika, Italian seasonings, Black Pepper, and Red Crushed Peppers
- Fat: Butter and olive oil
- Thickener: Flour or cornstarch
Most common brands of chitterlings
- ibp [trusted excellence]: These are probably the most popular and are the ones I’ve also used and saw my grandma Gwen and friends of family buy from the store when making chitterlings growing up. They’re not already hand-cleaned, so a lot of cleaning is required.
- Aunt Besties: These chitterlings typically come in a long, transparent bag. Now these are so called pre hand cleaned. I’ve tried these before, and while they may not require AS MUCH cleaning as non-pre-cleaned chitterlings, they can still use some more cleaning.
- Queenella: Like Aunt Bestie’s, they come in a long transparent bag and claim to be triple-cleaned. I’d still go through them and see if more cleaning is needed, and do so if necessary.
- Smithfield: This is another brand of chitterlings that comes in a red bucket. It’s popular, but not as much as the last two.
How to prep and clean Chitterlings
The most important part of making chitterlings is the prepping process, which includes removing the membrane, fat, and debris and soaking it. Soaking is easy, but removing the membrane is laborious and tedious.
I’d strongly advise you to do this with at least two other people. It’s time-consuming and tiresome unless you are patient, like the process, and find it therapeutic. Lol!
So, I’m going to explain how to remove the membrane in detail and show pictures of how it looks so you can tell the difference between the actual membrane and chitterling.
Knowing where to start and how to remove the fat and membrane requires instruction. But first, here are some of the common cleaning solutions used to clean vegetables and meat. This is what you’ll soak the chitterlings in as you’re cleaning them.
- Salt and Water: The most common cleaning solution is salt and water. Combine the two and soak the chitterlings to get them nice and clean, but do not soak for too long; you do not want salty chitterlings.
- Vinegar and water: You can also use apple cider vinegar. This is another common combination of ingredients used to clean food; this solution will help reduce and neutralize the smell.
- Lemon juice or lime and water: You can also use lemon or lime juice with water to clean your chitterlings. This option may brighten the chitterlings a bit, but will also neutralize the bad smell of chitterlings.
- Baking soda: You can use baking soda and water, or mix it with vinegar and water. This should definitely neutralize the funky smell these intestines tend to have.
- How much cleaning agent and for how long? I always use a tablespoon of salt, vinegar, baking soda, or lemon/lime juice per quart of water and just enough cold water to cover the chitterlings as I remove the membrane, fat, and debris.
- Get two large bowls: Here, I’m using a glass mixing bowl and the red bucket they came in, which I’ve cleaned out.
- Fill both with a cleaning solution: As I mentioned above, you have a choice of cleaning solutions. I’m using salt water.
- Sit the chitterlings in one of the bowls of cleaning solution and drop them into the other bowl once you’re done cleaning them to soak: In this case, I have them in a glass mixing bowl filled with salt water and sit them in the red bucket they came in and filled with salt water to soak.
Remove any debris or foreign substances, such as hair or weird stringy pieces, that you may see on the chitterlings.
Look to the middle or edge of the chitterlings to find the tip of the membrane and begin pulling it apart.
You can tell the difference between the chitterling and the membrane.
In the photo below, the chitterling is the top piece, my aunt Lorretta’s holding, and the membrane is the bottom piece.
Remove the membrane and pull it away from the chitterling. AGAIN, the chitterling is the marbled-like top piece she’s holding, and the membrane is the thinner translucent piece at the bottom.
-
Save

-
Save
-
- Cut the chitterlings in half: If the chitterling is long, cut it in half.
- Rinse thoroughly: Once you’ve completed the cleaning process, rinse until the water is very clear.
Slurry for the gravy
This is where I got a little creative and deviated from Grandma Gwen’s chitterlings recipe. I never liked the thin, excessive liquid left over, so I created a slurry to create a thin gravy for the chitterlings.
- Slurry: A slurry combines a liquid with a thickener to create gravies, sauces, and creams.
- Thickener: Your two thickener options are flour and cornstarch. The difference is that flour can withstand long cooking times. Cornstarch is more of an instant thickening agent. After hours of cooking, cornstarch tends to thin out, so you want to add it at the end.
- More on Flour vs. Cornstarch: Another difference is the look. Flour creates a dull-looking gravy, while cornstarch leaves gravy and sauces with a shiny, glossy look.
- Liquid: We’ll just be using cool water.
How to make Chitterlings
- Coarsely chop up all the vegetables.
- Place a large pot over medium-high heat.
- Add in the butter and oil.
- Add the chopped vegetables and minced garlic, and sauté until softened, about 4 minutes.
- Reduce the heat to medium, then add the chitterlings.
- Add in the water, broth, and apple cider vinegar.
- Sprinkle in the seasonings (except the crushed red peppers), then stir well.
- Cover with a lid, leaving a small crack on the side, and simmer for 3 1/2 hours.
- 30 minutes before the chitterlings are done, create the slurry, combining the flour with 1/4 cup of water.
- Pour the slurry into the pot of chitterlings and stir well.
- Once done, add in the hot sauce and crushed red peppers, then stir well.
Tips for best results:
- Stir periodically: Make sure to stir the chitlins, especially during the last hour of cooking, because it tends to stick to the bottom of the pot.
- Non-Stick Pot: Use a non-sticking pot. This will also help to prevent the chitterlings from sticking.
Serving suggestions:
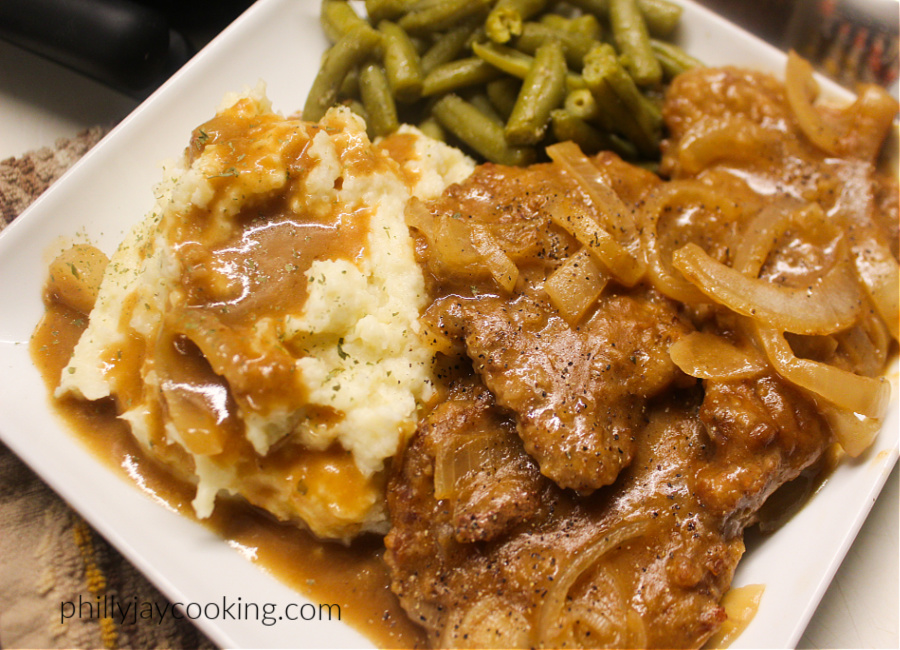
Since chitterlings are a soul food dish, that’s commonly served with popular soul food side dishes, I decided to post the dishes we commonly eat with chitterlings. Some of these recipes can be found right here on my blog.
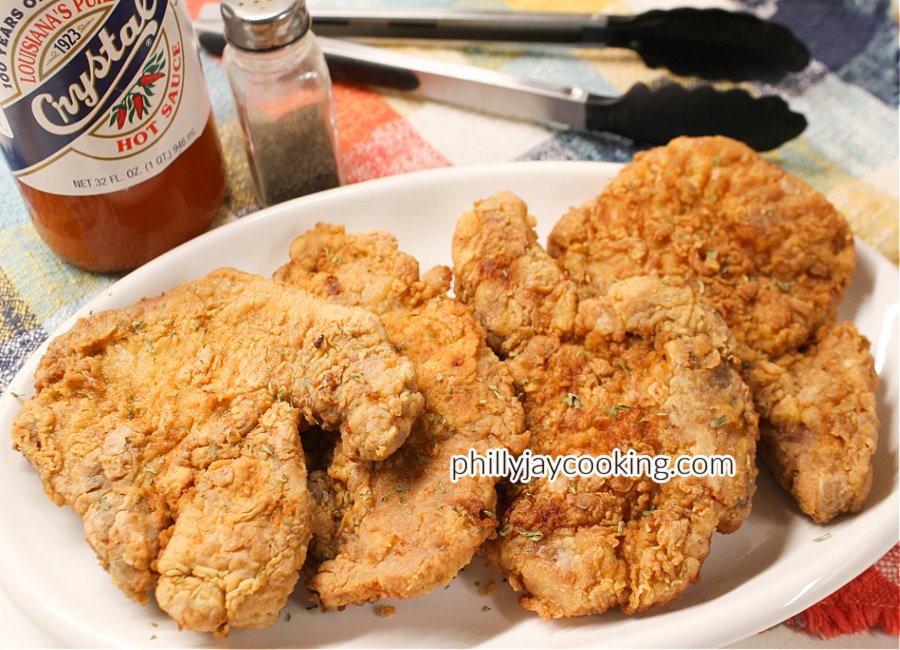
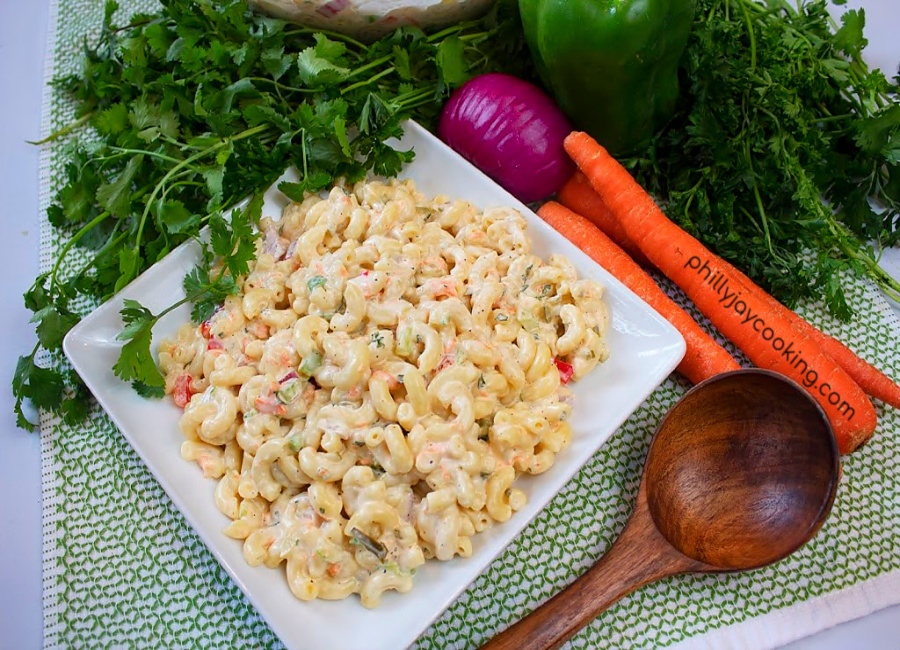
- Sides: Some side dishes that are commonly served and taste great with chitterlings, especially if you want to stick with soul food, are Potato Salad, and Cornbread.
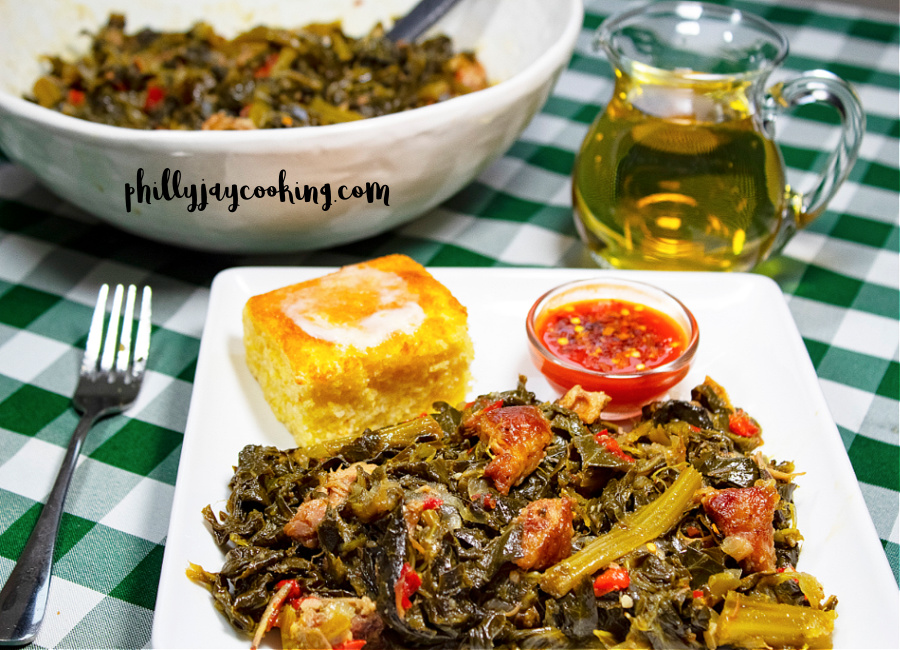
- Vegetable sides: Common vegetable sides are Collard Greens and Candied Sweet Potatoes.
Storage and reheating
- How do you store chitterlings? Please place them in a bowl, like a Tupperware bowl, and make sure they’re tightly sealed with a lid, aluminum foil, or plastic wrap. Then, store them in the refrigerator.
- Can you freeze chitterlings? Most certainly!!! Chitterlings freeze perfectly. Just place them in a Tupperware bowl or ziploc bag, make sure they’re tightly sealed to prevent freezer burn, and store them in the freezer.
- How to reheat chitterlings: In a microwave, you can add the chitterlings to a microwave-proof dish and heat them up for 2 minutes. Give them a nice stir after 1 minute then continue heating them up.
- How to reheat chitterlings in a pot: You can add the chitterlings to a saucepan or pot and heat them up for 8-10 minutes over medium heat. Stir periodically.

-
Save
Frequently Asked Questions
- How long do they last? Chitterlings can stay fresh and good in the refrigerator for up to a week, and months if stored in the freezer.
- How to double the recipe? I would double everything except for the liquid. Stick with the same water and broth amounts and cooking time, and add more liquid (little by little) if needed.
Other Soul Food Recipes You Might Like:
- The BEST New Year’s Eve Pig’s Feet Recipe
- Alice Mae’s Southern Lima Beans and Smoked Ham Hocks
- The Best Soul Food Style Candied Sweet Potatoes
- Easy Southern Baked Macaroni & Cheese Recipe
Equipment:
- Large Pot: We’re making a lot of chitterlings, so a large pot is best for this recipe, one with a lid to help them get tender.
- Knife: You should have a knife to chop the chitterlings in half because some can be long, and you want a plentiful dish. You’ll also need a knife to chop the vegetables.
- Measuring Spoons: Use measuring spoons to measure the seasonings accurately.
- Measuring Cups: Use measuring cups to measure the water and broth accurately.
- Slotted Spoon: Use a slotted spoon to strain some of the gravy from the chitlins if you want.
Give this recipe a shot, guys! If you love chitlins like I do or are looking for a way to make them like your grandma used to, these will definitely put a smile on your face and make your grandma proud.
The printable recipe is below. Please leave a review and give the recipe 5 stars if you enjoy it. Also, please subscribe to receive notifications whenever we post a new recipe.
If you want to stay in touch and get updates on everything Philly Jay Cooking, follow me on social media. I’m on Facebook, Pinterest, Twitter, Instagram, and YouTube.
Enjoy, later!
Pbj~
Print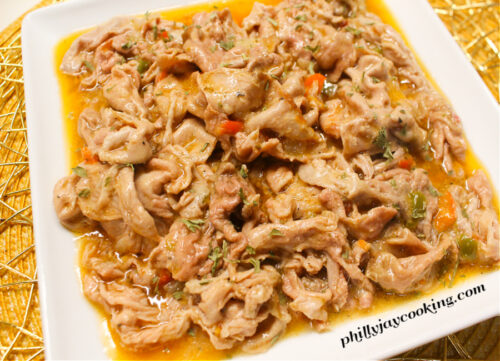
-
Save
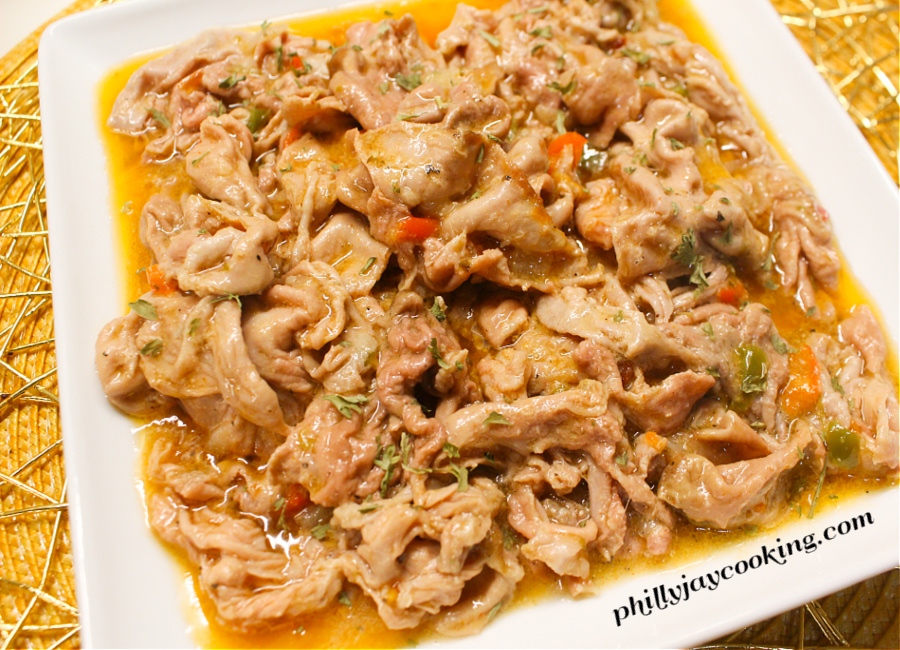
Grandma Gwen’s Chitterlings (Chitlins) Recipe
- Author: PhillyboyJay
- Prep Time: 2 hrs
- Cook Time: 4 hrs
- Total Time: 6hrs
- Yield: 8
- Category: Soul Food
- Method: American
- Cuisine: Soul Food
Description
Flavorful, tender, succulent chitterlings with a delicious light gravy to die for.
Ingredients
- 10 lbs Chitterlings
- 2 Qts Water
- 1 Qt Chicken Broth
- 1/2 Cup Onions, chopped
- 1/4 Cup Green Bell Peppers, chopped
- 1/4 Cup Red Bell Peppers, chopped
- 1/4 Cup Celery, chopped (optional)
- 2 Tbs Minced Garlic
- 1 Tbs Olive Oil
- 1/3 Cup Apple Cider Vinegar
- 1/4 Cup Hot Sauce
- 2 Tbs Seasoning Salt
- 2 Tsps Onion Powder
- 1 Tsp Garlic Powder
- 1 Tsp Paprika
- 1 Tsp Italian Seasoning
- 1/2 Tsp Crushed Red Peppers
- 1/4 Tsp Black Pepper
Slurry - 1/4 Cup Water
- 2 Tbs Flour
Instructions
- Place a large pot over medium-high heat.
- Add in the oil.
- Add the chopped vegetables and minced garlic, and sauté until softened, about 4 minutes.
- Reduce the heat to medium, then add the chitterlings.
- Add in the water, broth, and apple cider vinegar.
- Sprinkle in the seasonings (except the crushed red peppers), then stir well.
- Cover with a lid, leaving a small crack on the side, and simmer for 4 hours.
- 30 minutes before the chitterlings are done, create the slurry, combining the flour with 1/4 cup of water.
- Pour the slurry into the pot of chitterlings and stir well.
- Once done, add in the hot sauce and crushed red peppers, then stir well.
-
Save






Do you boil for awhile and poor off the water and start again?
You can… I dont always do this. I usually just soak them in salt water or lemon water. But that’s up to you.
These Chitterlings remind me of my grandmothers. They were awesome. Thanks for the recipe:)
I’m trying it for New Year’s, so excited
Mr. Phillyboy Jay: You should update your chitlin recipe to include a cooking change I used decades ago that will shorten the cooking time drastically, to about a half hour. Put the chitlins in a pressure cooker, along with an onion, peeled potato, and carrot, then seal the pressure cooker and cook for a half hour.
The result will be tender chitlins, no smell at all, and a dish ready to eat in no time at all.
Hey, Joseph! Thanks for commenting. You prepare them similarly to how my auntie now makes hers. Yes, as stated, potatoes help neutralize the smell, and cooking them in a pressure cooker is definitely a great option as well.